10 Easy DIY Nail Art Ideas You Can Do at Home 💅✨ (Beginner Friendly)
Honestly, I was just tired of going to the salon every single time I wanted to fix my nails. One day, I thought, “Why not just try something myself?”
I grabbed an old bottle of nail polish—nothing fancy—and tried something super basic. I wasn’t expecting much, but it actually turned out kind of cute.
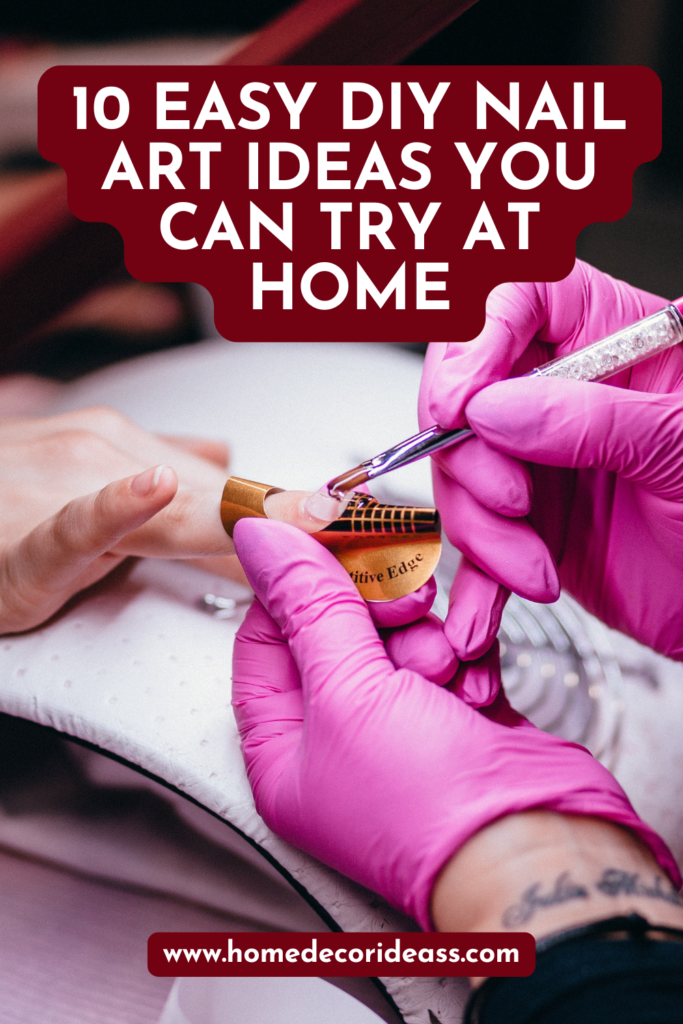
Since then, I’ve been experimenting with DIY nail art at home. Some designs turned out great, some were… let’s just say “learning experiences” 😄 But overall, it’s been fun, creative, and surprisingly relaxing.
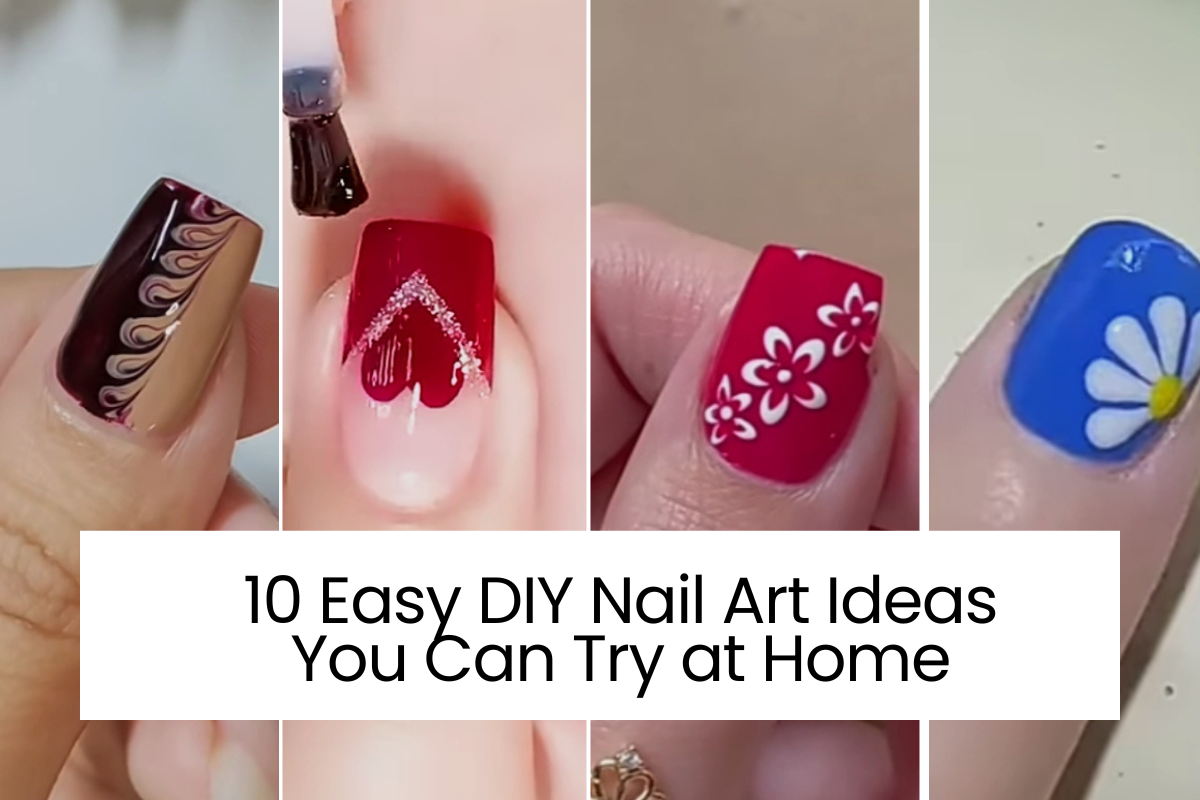
🌸 1. DIY Floral Nail Art
Start with clean nails and apply a bold base color like pink or maroon. Let it dry completely so the design doesn’t smudge.
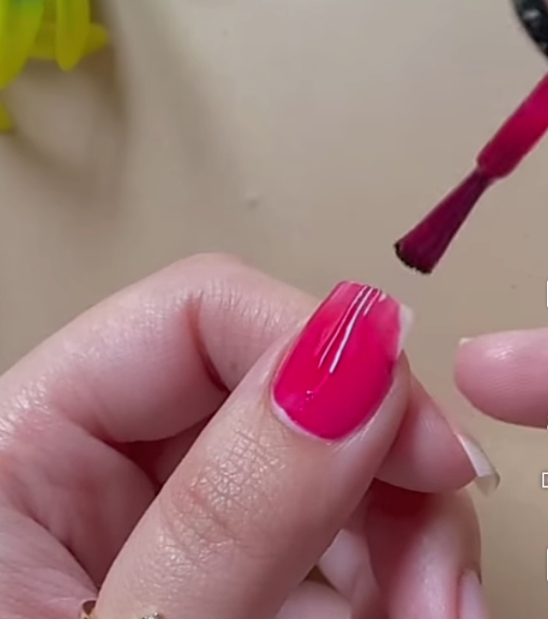
Using a dotting tool, toothpick, or even a bobby pin, dip into white polish and create small dots in a circular shape to form flowers.
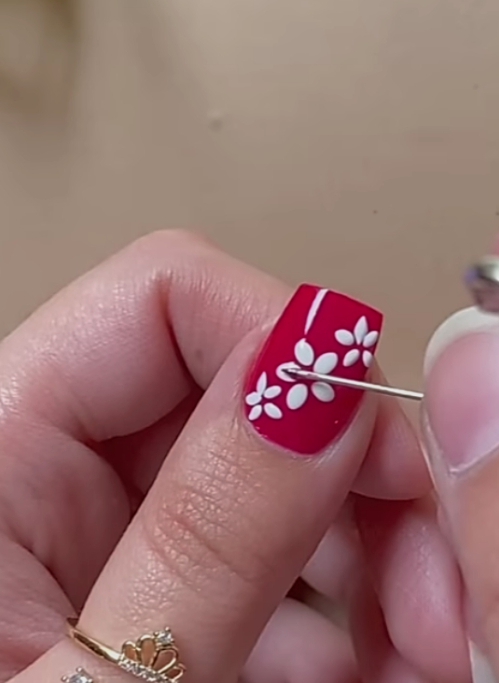
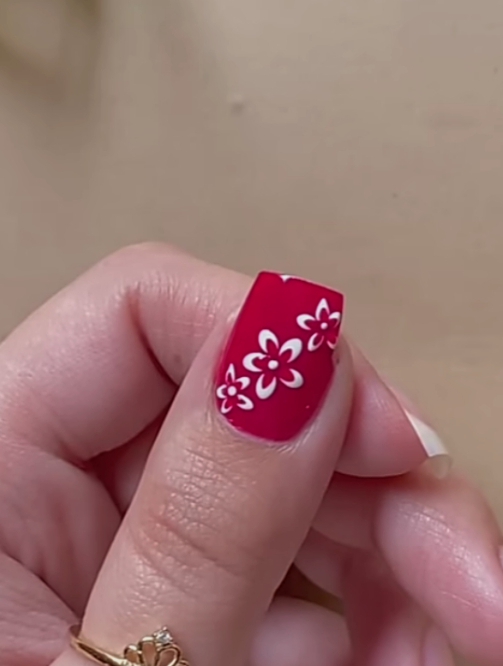
Add more flowers if you want a fuller design. Once dry, seal everything with a clear top coat for shine and longer wear.
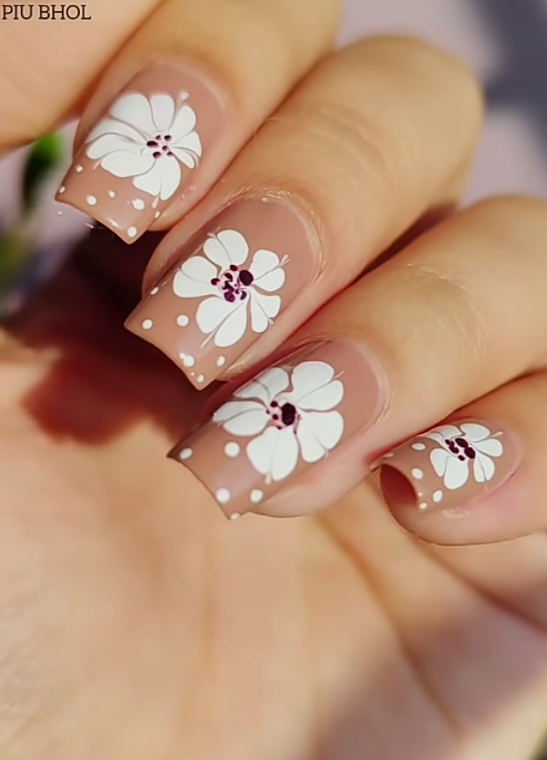
🌸 2. Floral French Tip Nails
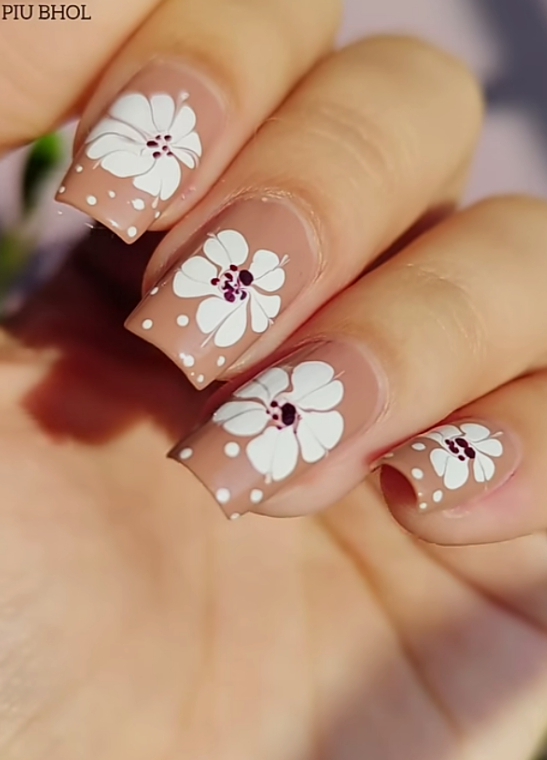
Apply a nude base and let it dry. Using a thin brush, create small floral shapes near the tips.
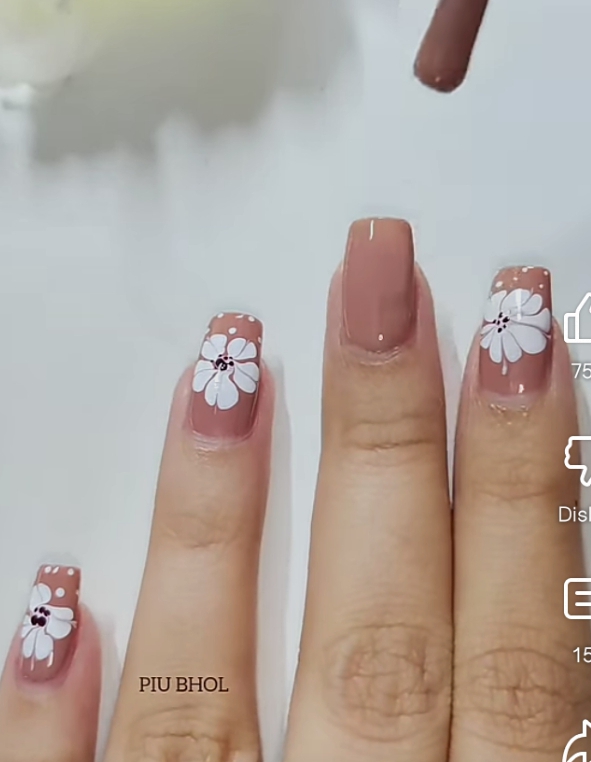
Add a small dot in the center of each flower to define the petals.
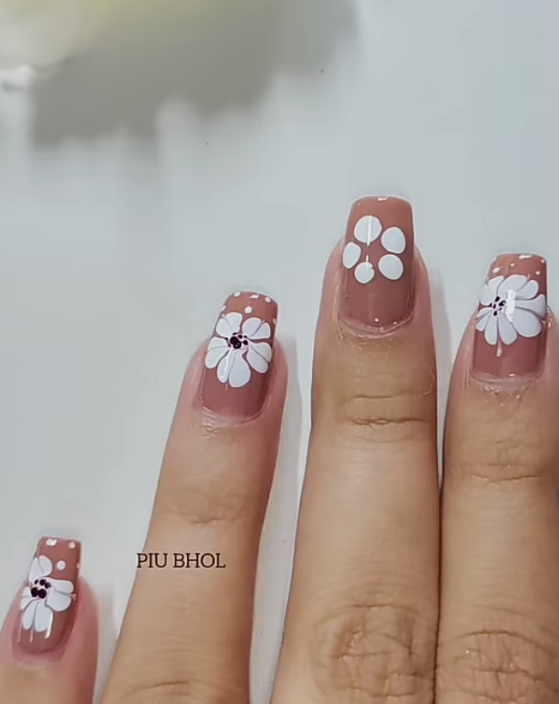
You can also add tiny accents for a soft French-tip floral effect.
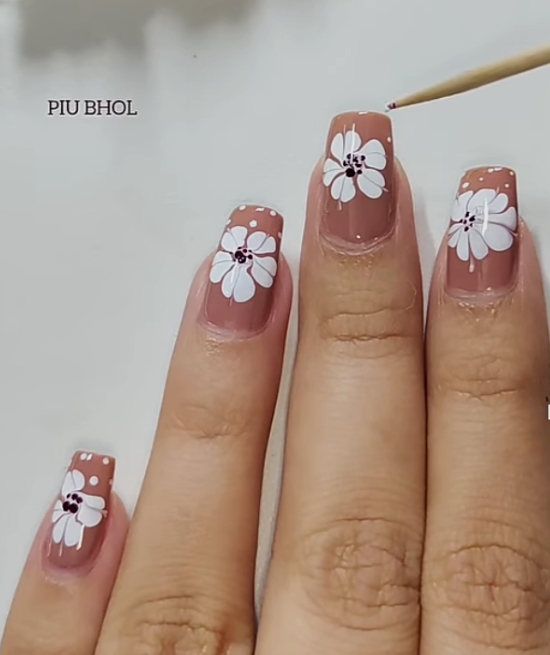
Finish with a glossy top coat.
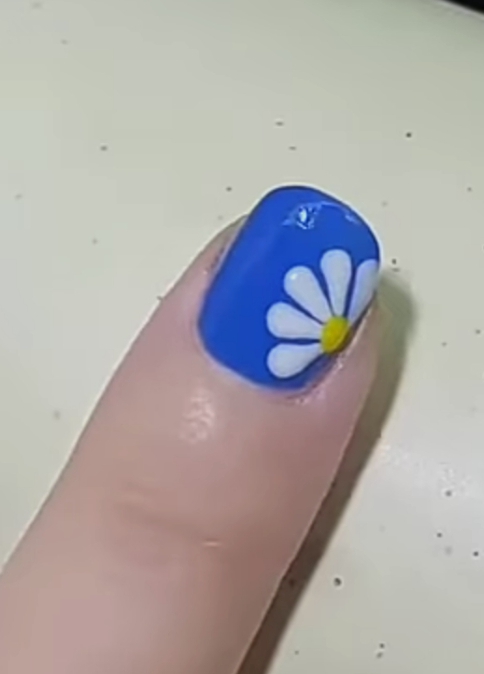
💙 3. Blue Daisy Nail Design
Start with a blue base coat and let it dry fully.
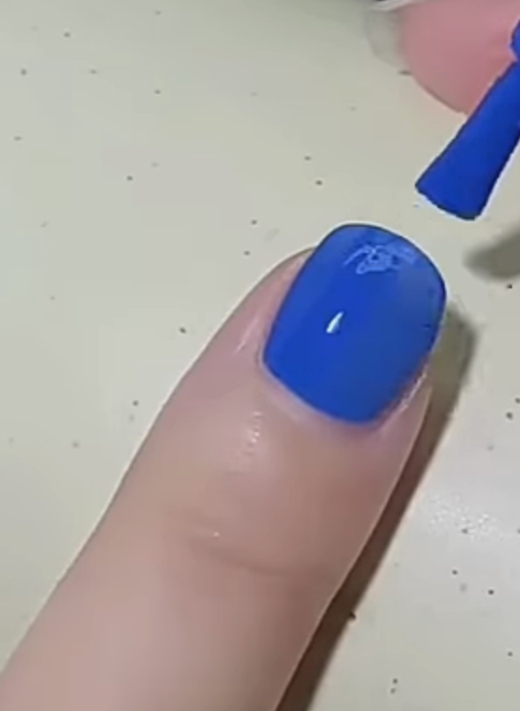
Use a dotting tool to place white dots in a semi-circle shape.
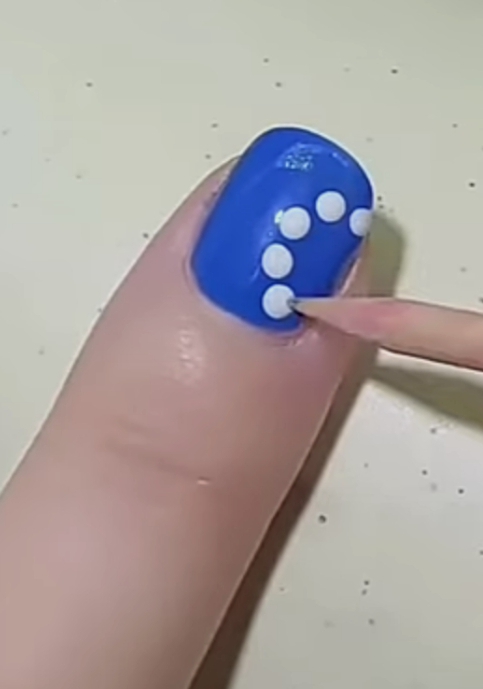
Shape them into petals and add a yellow center.
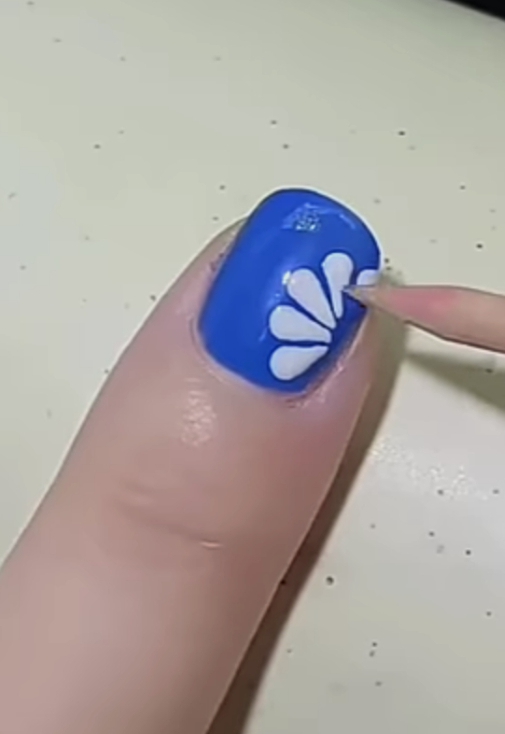
Seal with a top coat for shine and protection.
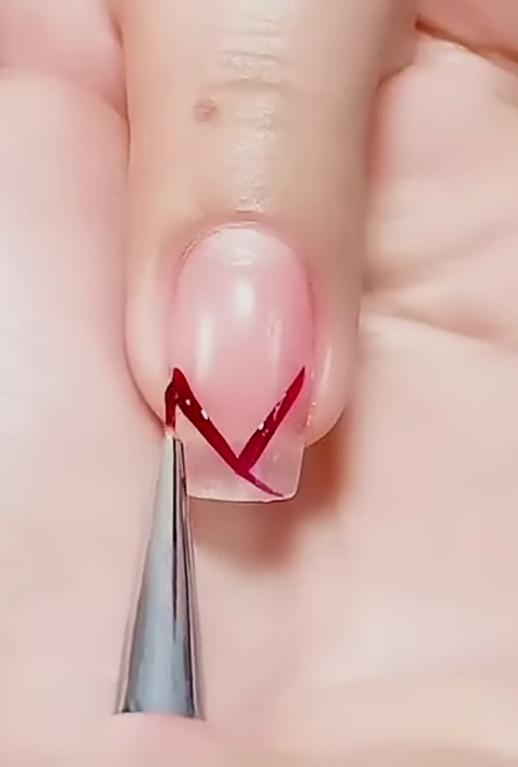
❤️ 4. Red Heart Nail Art
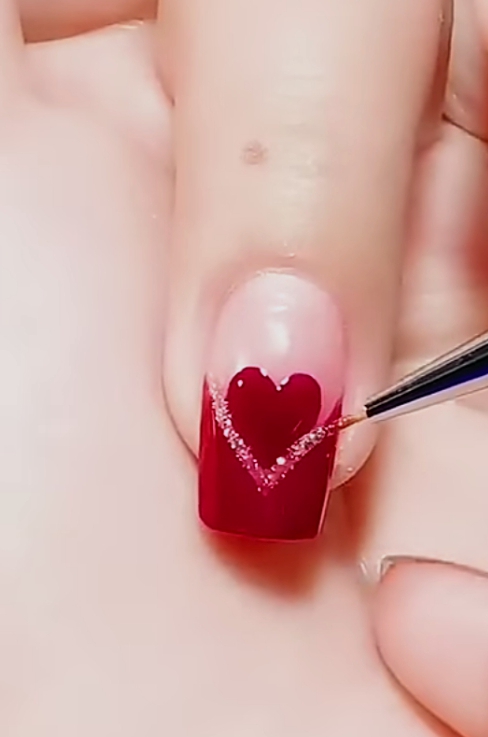
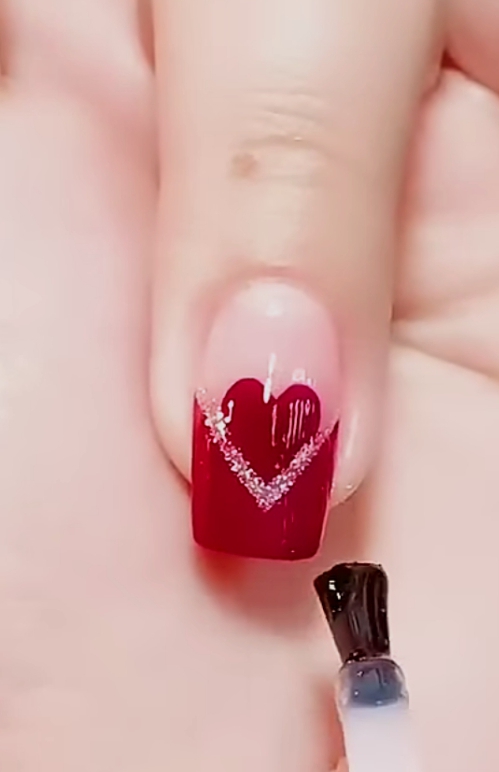
Apply a nude base coat. Using a thin brush, draw a “V” shape at the tip of your nail.
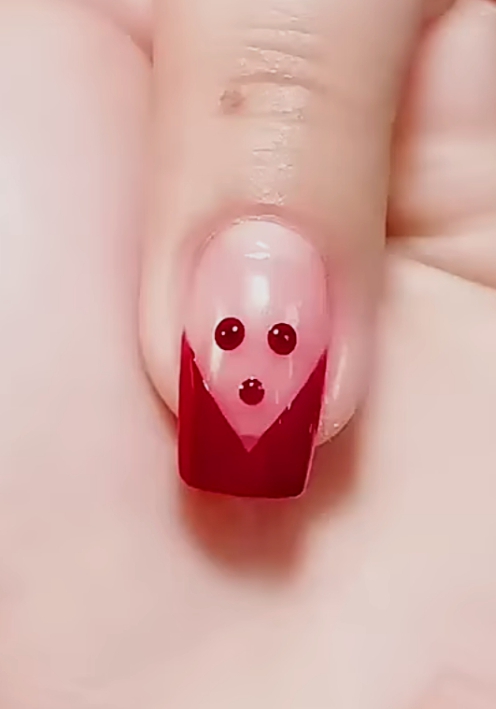
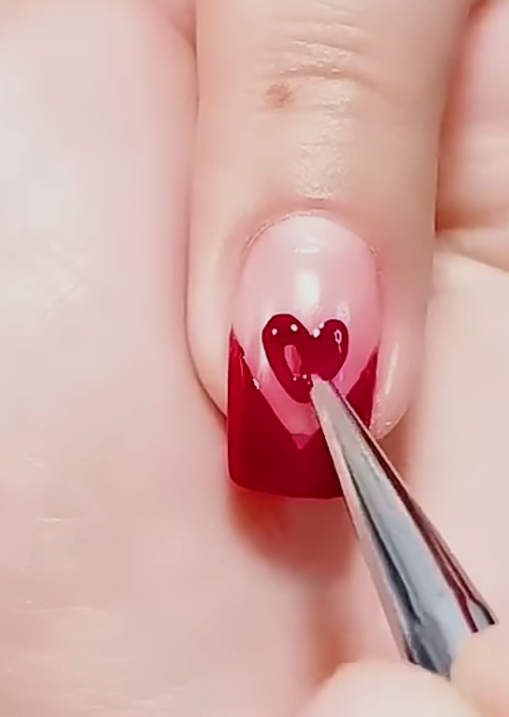
Fill it in to form a heart shape, then refine edges with a dotting tool.
Finish with a glossy top coat for a polished look.
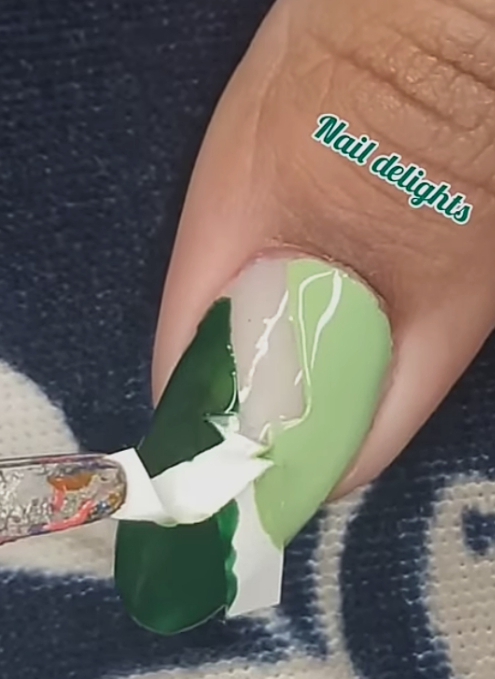
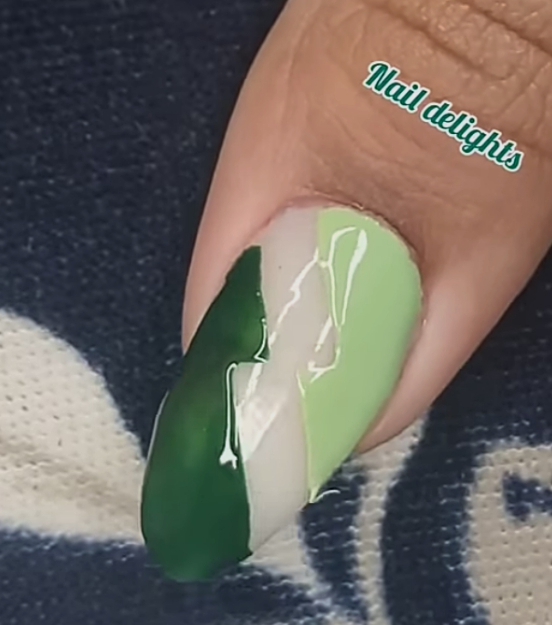
💚 5. Two-Tone Green Nails
Apply a nude base and let it dry. Use tape to divide the nail into two sections.
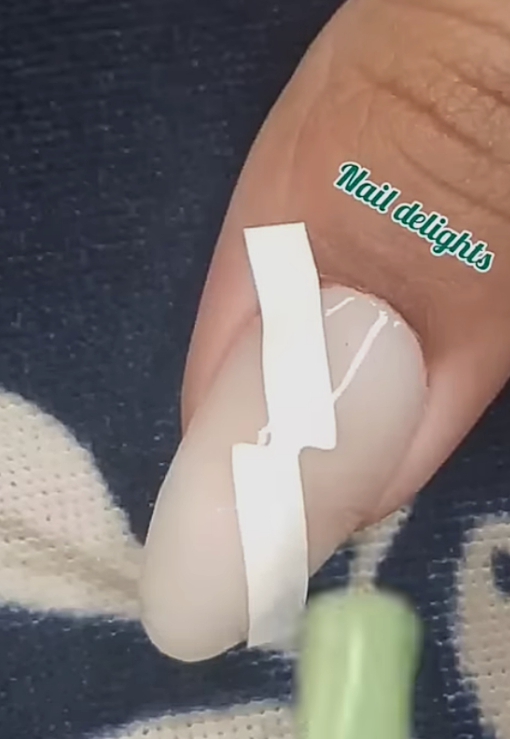
Paint one side mint green and the other dark green.
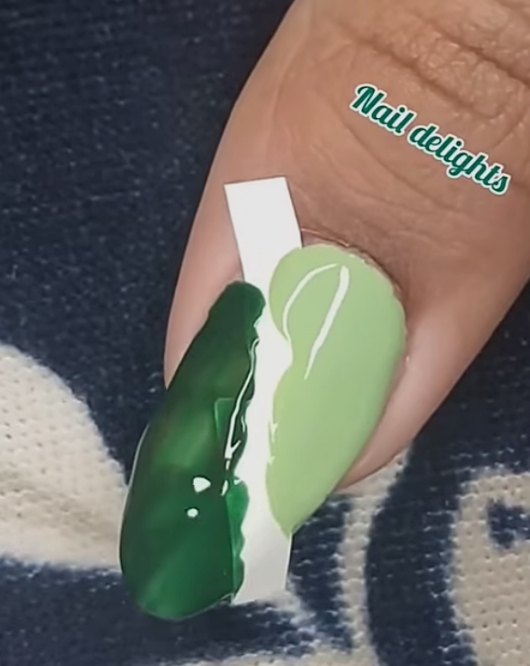
Remove tape carefully and finish with a top coat for a clean, sharp design.
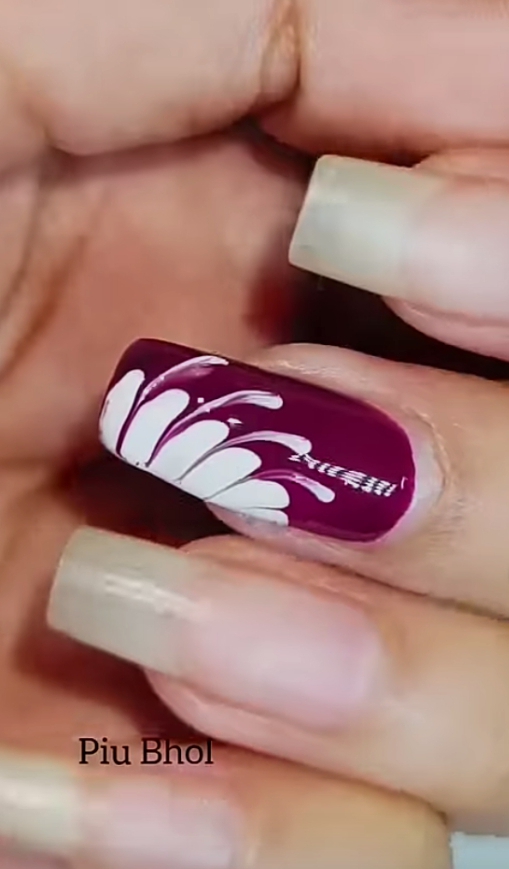
🌺 6. Maroon & White Floral Nails
Apply maroon polish as the base.
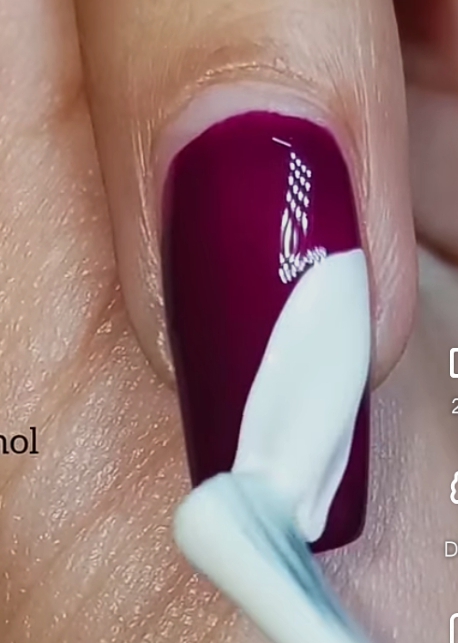
Use a thin brush to create white floral petals on one side of the nail.
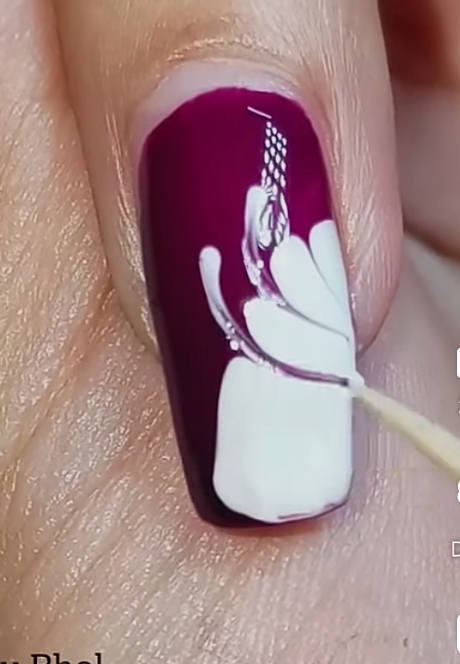
Add small detailing strokes for depth, then seal with a top coat.
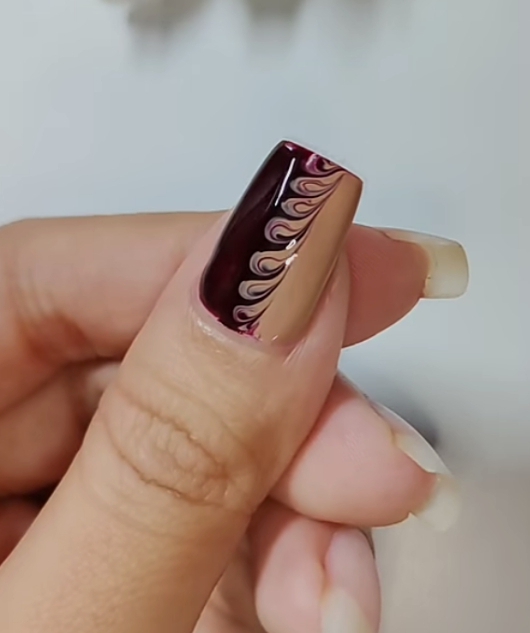
💅 7. Swirl Nail Art (Maroon & Nude)
Apply maroon polish first. Then add nude polish on one side while still slightly wet.
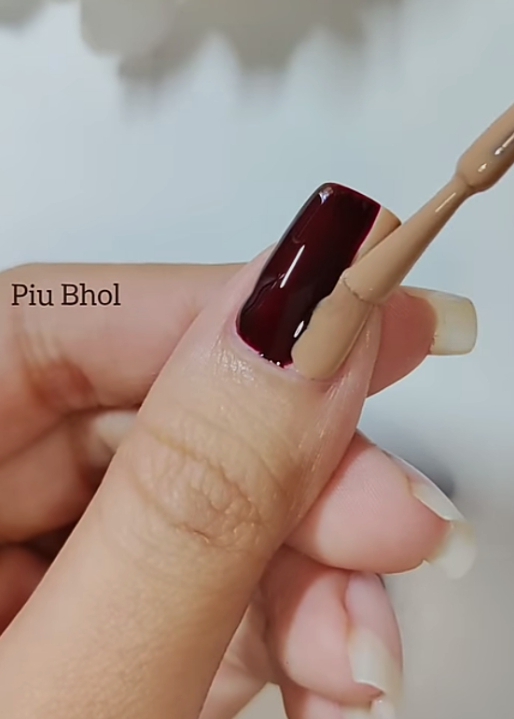
Use a toothpick to gently swirl both colors together.
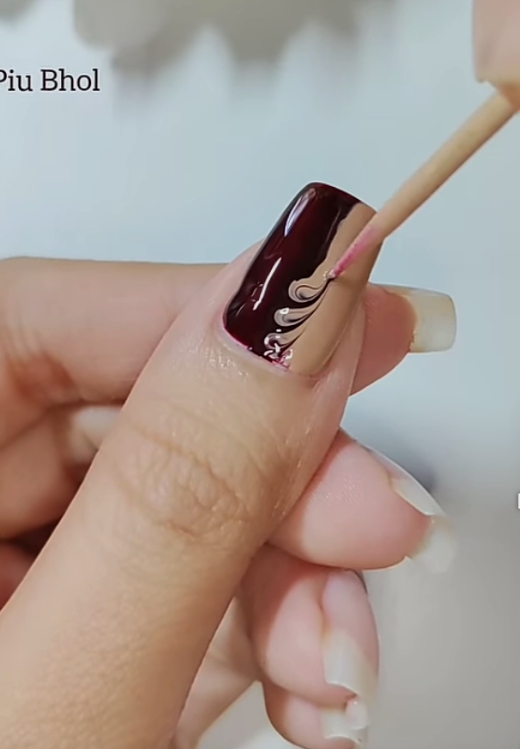
Finish with a glossy top coat for a marble effect.
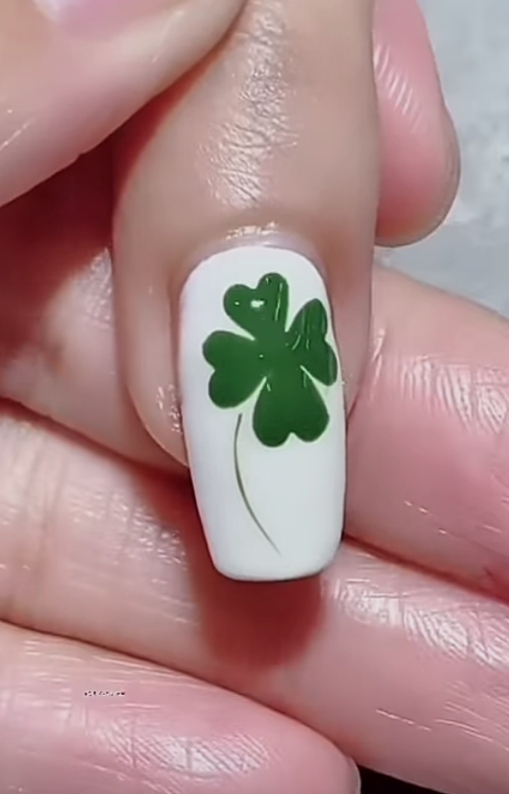
🍀 8. Lucky Clover Nails
Start with a white base coat.
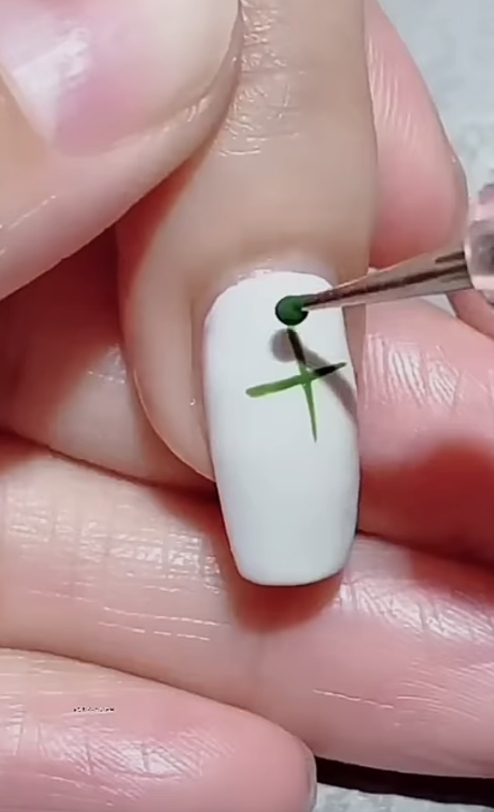
Draw a small “X” and build four-leaf shapes using green dots.
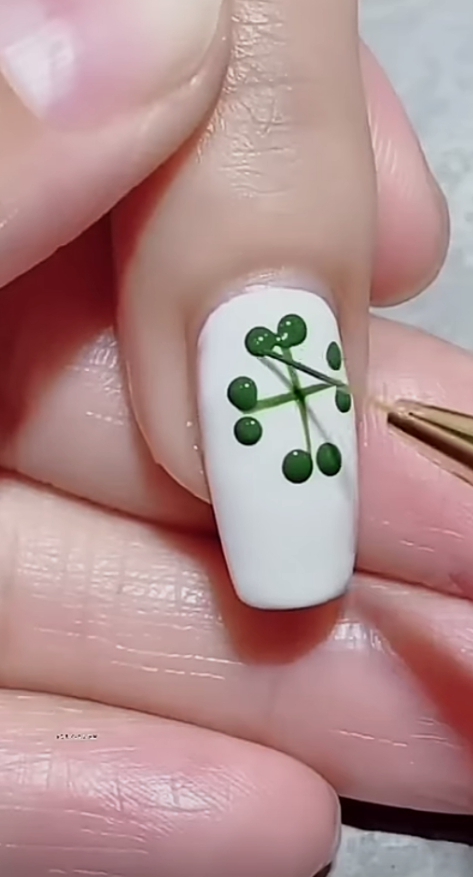
Shape them into clovers and add a stem line.
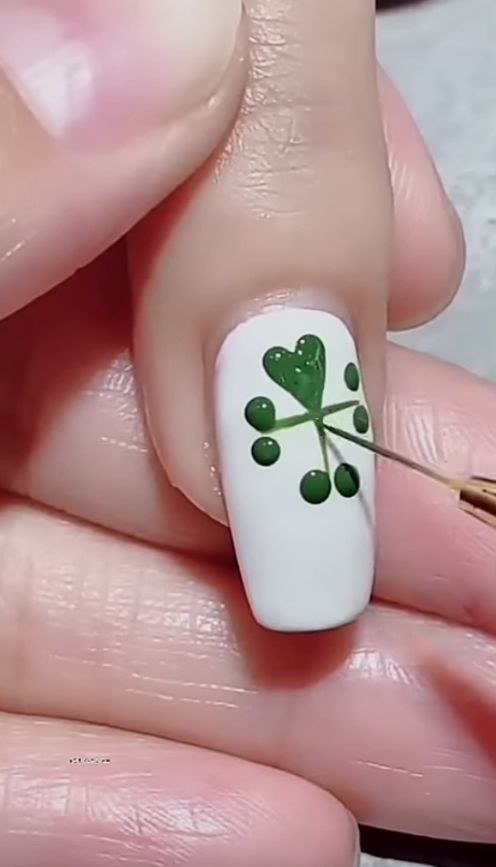
Finish with a top coat.
💖 9. Modern French Stamp Nails
Apply a nude base coat.
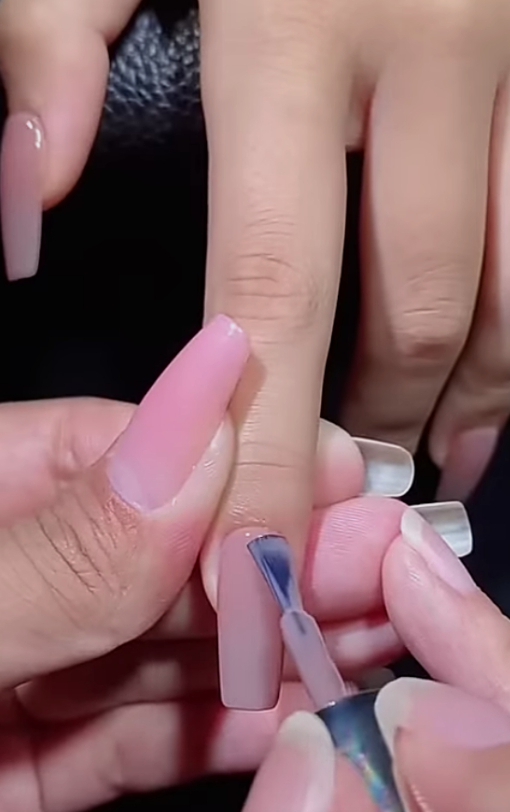
Use a French tip stamper with white polish and press onto the nail.
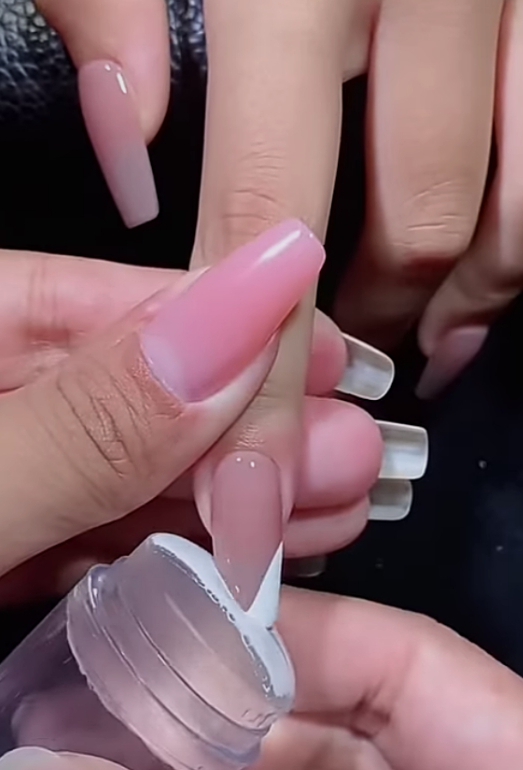
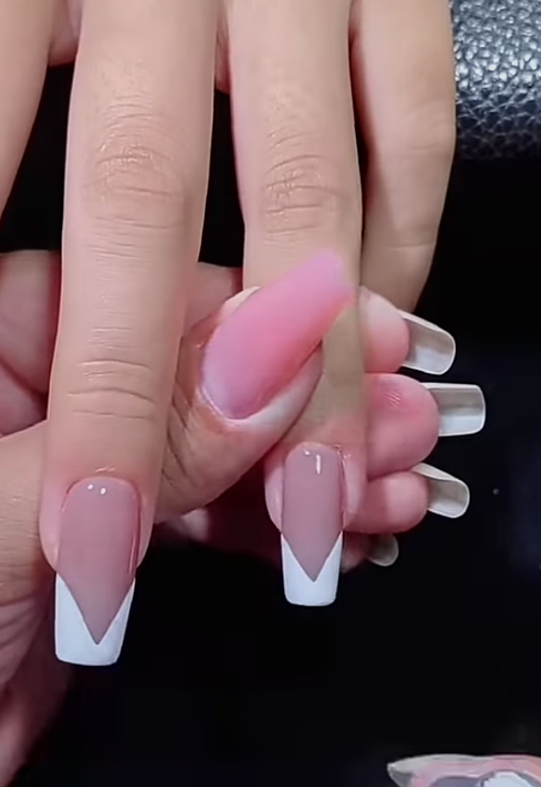
Repeat for all nails and seal with a glossy top coat.
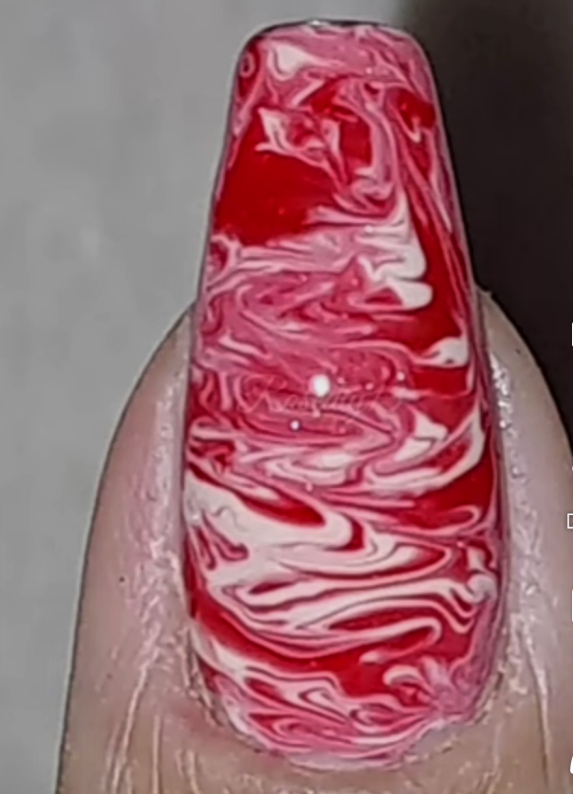
❤️ 10. Red & White Swirl Nails
Apply a base coat, then add white and red dots across the nail.
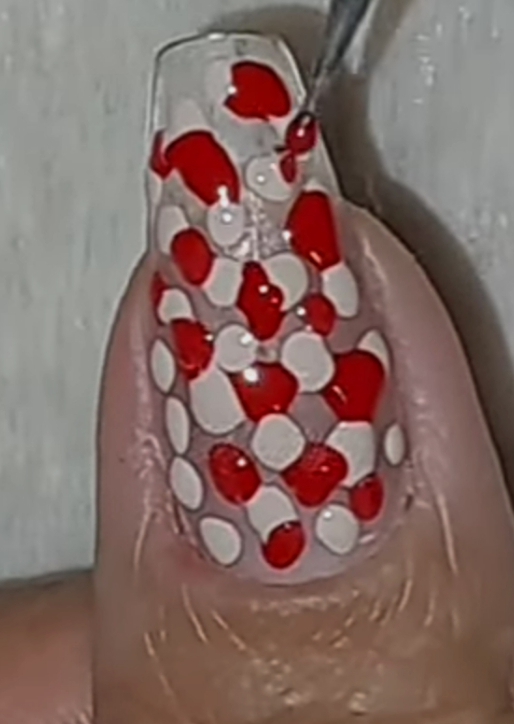
Use a thin brush to swirl both colors together.
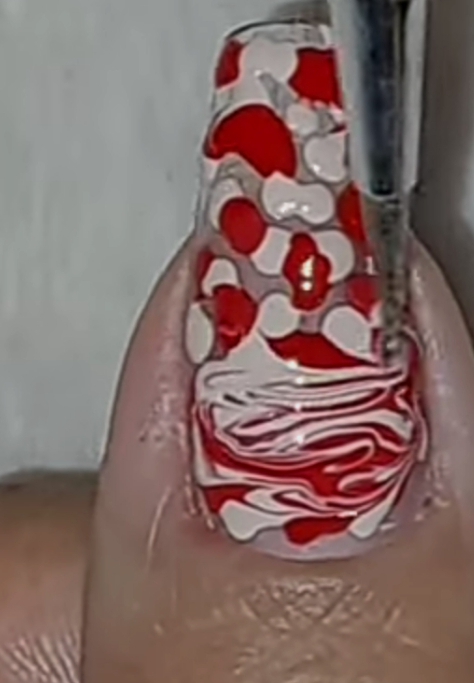
This creates a soft marble effect. Finish with a top coat.
💡 Final Thoughts
Nail art doesn’t need to be perfect—it just needs to be fun.
Whether you’re trying simple florals or bold swirls, these designs are easy, creative, and beginner-friendly.
So grab your nail polish, experiment a little, and enjoy the process. 💅✨